Wednesday, March 12, 2014

Duradek's training, we take waterproofing serious

We see it way to often. 

Failed products, significant water damages, a home owner wondering what to do and the company that installed the "waterproofing" can't be found.  This is why Contractors are so happy to work with Duradek of Utah, we do the training and support them on the job site as needed. Home owners love the product and the fact that we are right here, local and ready to help.
 
If you have trouble viewing the video here please go to http://www.dekmax.com/media.cfm

Can Duradek be repaired?

Although it is rare to have a home owner damage the Duradek system it is possible.  The most important thing to do if you have a damaged spot is to call right away, it is a simple repair then.  Here is a repair that was done a few months ago.

This roof deck is over living area so the home owner knew Duradek was the best solution for waterproofing.  The installer had just finished three decks and they looked beautiful, the recessed seams were virtually invisible.  The next day the very large windows were going to be installed and during the set up or installation something was dropped onto the deck surface.  The membrane was punctured and the substrate was "dented" too.  The home owner was beside herself and called frustrated that it had been damaged. 

Reassuring her that she did the best thing by calling we sent a Duradek of Utah representative out the next day.  She was so impressed with how it was handled she was even video taping the repair. 


Since there was a dent in the plywood we needed to level it out not leaving a depression or bump once repaired.  The decision was made to take another piece of membrane cut it to the size of the indentation place it under the top sheet and then both pieces rolling them so the surface is flat again.   The pictures you see here were taken from about 12" off the surface, unless somebody was really trying hard to find this slight scar it may never be noticed. 

Friday, March 7, 2014

Outdoor Tile, can it be done?

YES!
There is one simple guideline.
Do it right the first time!
 
 Our professional, company trained waterproofing experts have been doing tile outdoors in one of the harshest climates in the country without any concerns about water intrusion.  Tile in an outdoor application is very popular with a home owner as it should be, it looks fantastic and adds a real touch of class to an outdoor living area.  So what's the problem?  It is very hard to find somebody to do the work, they may not tell you but there is a real fear of liability for the contractor so they shy away from this type work.  OR you may find somebody that wants to do the work, they only lack a proven system.  They are creating their own "system" that they are sure will work.  The end result is too often a frustrated and upset home owner stuck with a very costly mess. 
 
 
Here we are going to walk you through a failure that had occurred here in Salt Lake City.  As you can see this private residence is a high end custom home.  When we were first called out the home owner was beside herself with the amount of water leaking from the upper deck to the lower deck.  There were icicle's that actually hung from the recessed lighting in the soffit to the tile  on the lower deck.
Most important and in dire need of repair was the bridge that not only connected the deck to the pool
but is the only way to get to the pool and it had deteriorated so much it could not be walked on. 
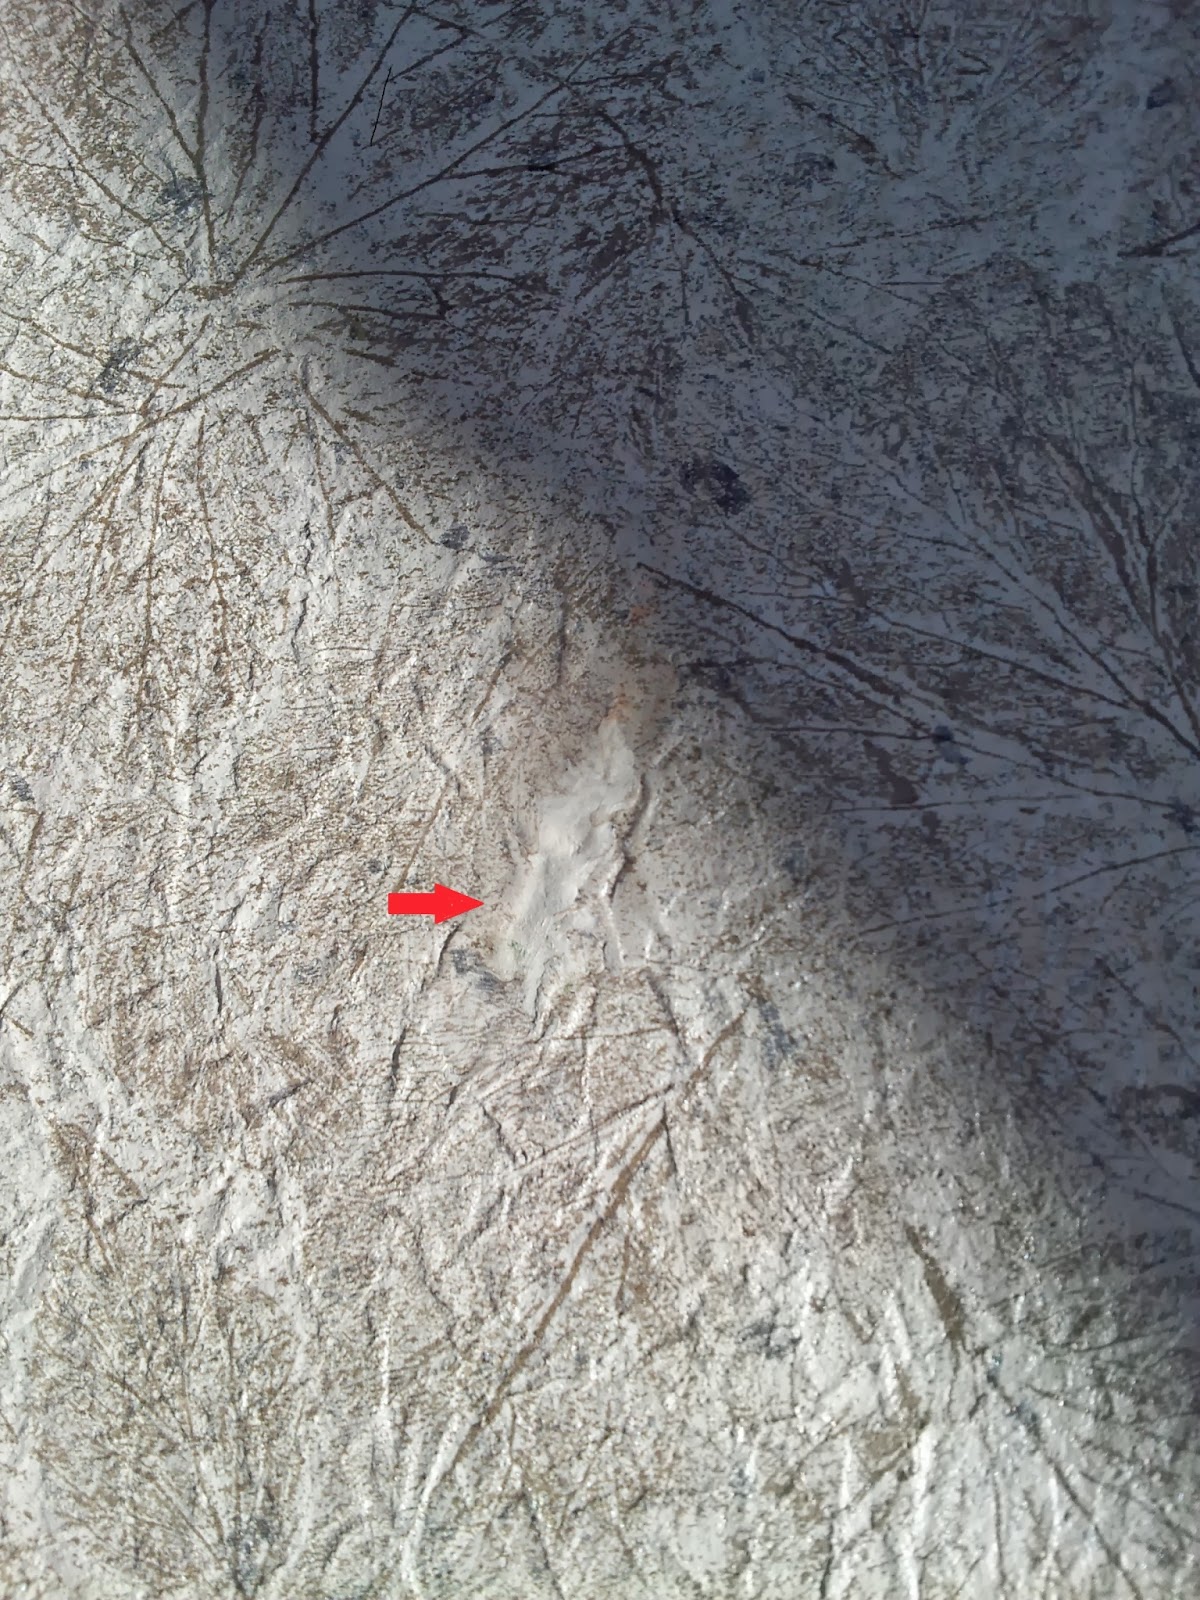
You never know what you will find when tearing apart a failed project, we were not disappointed at all here.  There was actually two different ideas implemented but neither had to do with waterproofing!  All the effort was based on the tile finish and no consideration at all for durability, usage or longevity.
 
On the bridge we found two layers of 3/4 inch OSB. Above that was a metal lath with a thin-set  then a drainage mat, finally was the tile finish.  So lets break down the good and bad here.


The two layers of OSB and metal lath were an obvious effort to reduce deflection, that's the right thing to do.  Our testing showed that two layers of plywood would not work.  The metal lath idea probably came from other liquid applied systems and again can help reduce movement.  BUT it should be stapled every square inch.  Now the first question that I had was where is the waterproofing? There is nothing here that stops water from passing through the whole build up and soak right into the OSB, which quickly turns into a sponge soaking up all it can get.  That is why the upper layer looks like a pile of flakes. 
 
Now we have learned about the bridge and why it failed.  What about the lower deck?
Here we found a change in the game plan, there was no metal lath used on the deck surface. For some reason the decision was made to use a thick-set type installation and the drainage mat on top of that, then the tile finish.  I don't really understand why the change unless they thought the bridge needed to be the best plan but the deck would not have as much movement? Just a guess.
 
What we have here is a "tile setter" being the responsible party for this complete job, yet their effort and focus is in how to make the tile look best?  They are not skilled, nor trained in waterproofing at best they use their experience from installing tile indoors and try to apply it to outdoors.  The drainage mat is a sheet good and was butted up to the next layer.  The transition from the bridge to the deck was leaking quite a bit as you can see below.  The edge beam (doubled 2x's) are showing pretty serious water damage. The further onto the deck we go the lessor the damage but it is also covered so that makes sense.


This repair was not too difficult and that only made the home owner even more frustrated about the failure.  The tile was removed and trashed as was everything down to the joists.  To her, it was just like the beginning, again.  We sheeted it with 3/4" plywood (no OSB), used a bond coat of Mapei's Ultra Flex II, set and screwed down Durock Next Gen 1/2" CBU then fully adhered Duradek's Tiledek membrane. The tile was then bonded directly to the Tiledek membrane by the tile setter. 

Looking at these two different approaches there are a lot similarities lets break them down.

The failed installation was based on a tile setters experience. (Not a trained waterproofer)
The Tiledek product comes as a tested and approved complete system (ICC and TCNA)

The drainage mat helps to drain the water and is the anti-fracture product.
Tiledek is waterproof and is the anti-fracture membrane as well.

The metal lath reduces deflection but it also rusts as the water leaks through. (less cost)
Durock is better then the lath and is approved by the manufacturer to be used in the Tiledek system and was tested as a part of the system. (ICC and TCNA)

THE MOST SIGNIFICANT ISSUE HERE IS WHO IS RESPONSIBLE / ACCOUNTABLE????
If you are in the industry you know exactly what I mean.  There are countless stories about how a leak with outdoor tile occurred and who is at fault. They are all the same in that all it becomes is a bunch of finger pointing at each others product or installation details, nobody takes responsibility and the owner is left with a mess and huge cost of repair.

We are not afraid of the liability that comes from waterproofing over living space what so ever.
Our installers are professional.
All are company trained.
We inspect every Tiledek project before the tile is installed and offer to flood test the surface first.
Our history goes back 40 years, this isn't some "new idea" or dream.  If you want a waterproof system that was designed specifically for a tile finish then we have you covered.  Offering the owner peace of mind that when a tile or stone pops or cracks it is a simple repair without the costly water damages.

To the tile setters credit, he was the only person / product that took responsibility on this job, he installed the tile at no cost to the owner. 

So how long did it take for the water to make its way through and cause all this? LESS THAN ONE YEAR!!! It was done in the fall, by spring it was replaced and done right.


Tuesday, June 25, 2013

Duradek's Training class

As a waterproof company we have seen some truly unique and creative ways to try and protect a roof deck or any surface.  By far more times than not the failure is not a result of lack of effort but simply poor installation details or technique.  Simply put, no one ever trained them how to do these things properly.  Occasionally we will receive a call from somebody that has come across a Duradek installed job and they want to buy some product. 

Once told they have to be trained before being permitted to purchase any materials some are actually upset and simply go away.  Our commitment and focus is to provide the best waterproof material available, thoroughly tested and meeting all building codes, with no ongoing maintenance costs, installed by trained professionals that take waterproofing serious.  Go to our website to view a short video of the first day of training. http://www.dekmax.com/media.cfm

Duradek's Seam Strength

Lets put this one to bed.  Seams are not a weakness of the membrane, they really are one of the strengths.  Take a look on our webpage for yourself - http://www.dekmax.com/media.cfm
 

Monday, June 3, 2013

Details, Details, Details - Why they cost you$$$

 This article is an effort to illustrate to you why so many solid surface areas outdoors fail.  There are so many products on the market these days and unless you take the time to do some homework, investigating the product and building codes approvals as well as the installers credentials you may well end up in a similar predicament.


This product is a liquid coating.  May of the coatings that are available are "allowed" by building code to retain as much as 15% moisture!  In harsh climates like ours this is clearly going to cause a problem in a short period of time.  Most offer a "warranty" but they require you to have the surface re-coated each 1-3 years depending upon the manufacture's recommendations. Be sure and Ask! If you don't maintain the ongoing requirements you may be without recourse.

These pictures show that the coating goes right up to the brick wall.  Since you really can't apply the multiple layers in this system up a wall they simply stop here and apply a very generous layer of caulk.  Caulk not a good idea as your primary waterproofing. As you can see from the picture on the right the caulk shrunk, cracked (the sun can do this quickly) and the water that runs down the brick wall went right into the "caulked area and below the coating. The line you see at the bottom is the seam where two pieces of the substrate are joined.  Each sheet is expanding and contracting thus the hardened coating fails.  The area that looks blistered is from moisture in the substrate trying to escape.

Here you can see the problem is serious, it has spread across the entire deck.


What you are seeing here is the drip edge that was installed prior to the coating.  Not only is the drip edge showing as a result of poor installation technique but there is a separation or the left side is coming loose.  Again poor installation is to blame.  Not helping is the effect of the sun, this is west facing so they get a long period of direct sunlight and that metal gets very hot.  Each piece is going to "move" during expansion and contraction.


 These next couple pictures show a really poor way to try and flash the deck.

On the left you see a metal flashing was installed but there are some cracks forming and there is a hole in the corner.  Again one of the biggest issues to deal with is movement, expanding and contracting of the systems components. Wood (substrate)- Metal (flashing) and Coating (adhered to both). Each of these components will expand and contract at a different rate, the result is what you see here.
The issue here should be obvious.  Any water running down this column will simply go behind the metal flashing and right onto the substrate and the supporting joists. Not to mention the lighting and soffit installed below.


Surface mounted railings are very common and can be properly waterproofed.  Again unfortunately these were not installed correctly.


Not correctly waterproofing the surface mounted railing shown above resulted in the water damage you see below. There was about a half inch that was so rotted it just fell apart and had to be repaired so the rail could be re-installed. 


 The extent of water damages were serious but could have been even worse.


This is the underside of the substrate.  It was 3/4 inch thick and even the bottom is showing serious damage.
OSB should never be used outdoors as a substrate, often it is because it is cheaper than plywood.  Ask this home owner which is less expensive.

OSB acts like a sponge, any moisture is soaked in and it begins to swell.


Here it simply fell apart and left a good size hole.


When installed the sheet should have ended on the joist and been nailed in place (I assume that was done right) here you can see the sheet does  not reach the joist, shrunk? It is so soft I am pressing it down about an inch with just my fingers.  It is a wonder nobody fell through and was hurt.

Wednesday, October 3, 2012

Flat Roof Garage = Usable outdoor area!

 It seems like every neighborhood has at least one, a flat roof garage.  To bad so many of them are a money pit, never able to get the right product or contractor that can waterproof it as a roof and allow us to use it for our furniture and friends.  When they are done right (like this one) they are a real asset to the home and can add significant value too!


Duradek of Utah was contacted and right away we knew to call the guys at Lonepeak Contracting.  The roof had been covered with outdoor carpeting, looks good for a year or two but it hides what is happening and actually helps retain the moisture.  The damage was so extensive the entire roof was tore off and redone with 3/4 plywood.

Once the plywood was in the Lonepeak installers prepared the entire surface for the Duradek walkable roof membrane ensuring this garage roof would become an extension of the home.


As you can see in these photos the neighborhood eyesore has become the talk of the block.  What a great feeling to have, peace of mind that my roof is done right AND I can use the area (more than 500 sq ft) to entertain my family and friends.

Go ahead and BBQ all year too, rock salt, ice melt and shoveling won't bother Duradek at all, simply wash it off in the spring and your good to go!